

User profile#
You can change your user settings in your user account (UA) by clicking on the UA icon, located on the left side of the sidebar, Fig. 1:

Fig. 1 Login to UA#
After this, a window opens with settings and user data that you can view or change, Fig. 2:
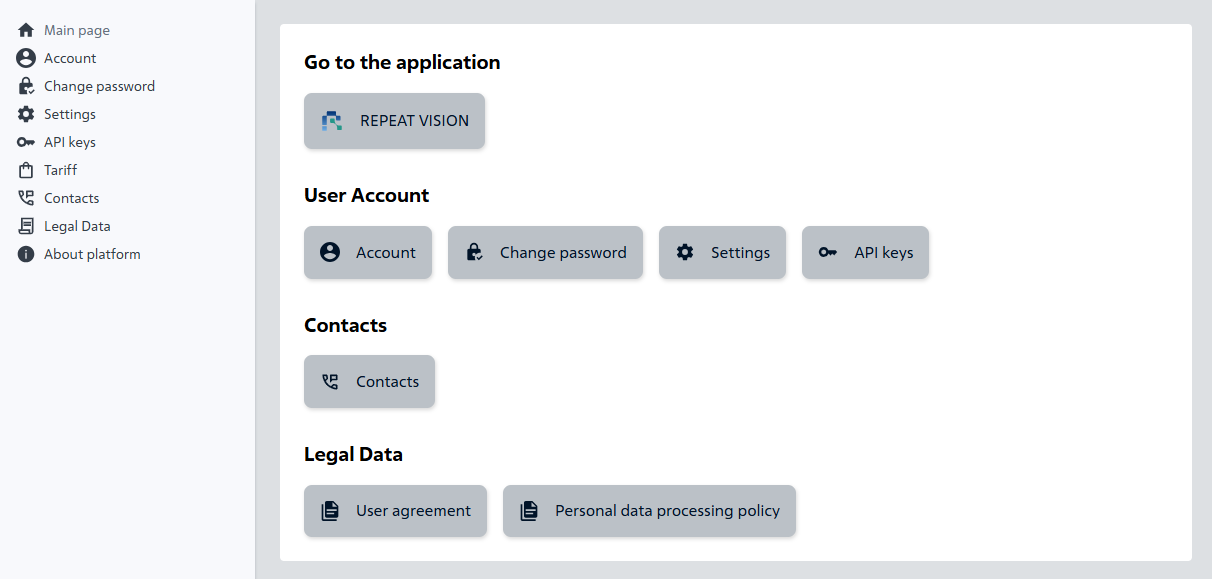
Fig. 2 Window with settings and user data#
1. Account#
To view or edit your account information, you must click on the Account button, located in the left panel and in the User Account paragraph, Fig. 3:
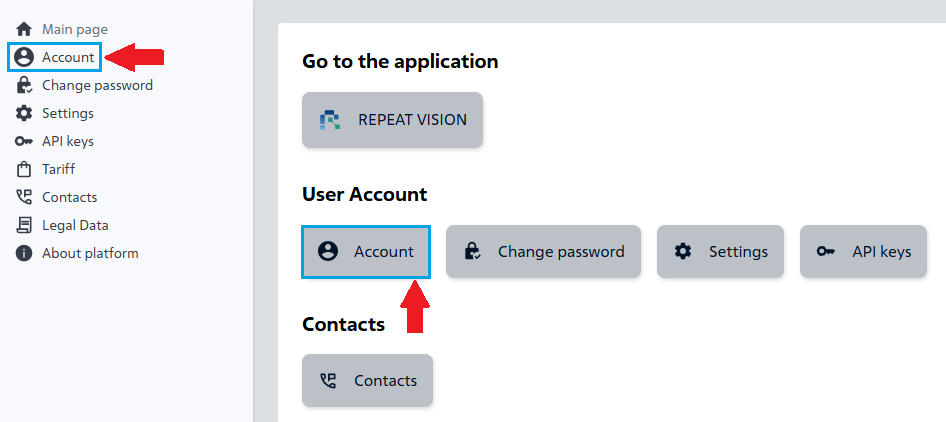
Fig. 3 Going to your Account#
After this, a window opens with your account information, Fig. 4:
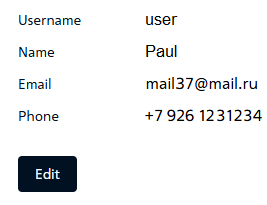
Fig. 4 Account details#
Note
To edit your account details (Name, Email, Phone), click the Edit button.
2. Change password#
To change your password, you need to click on the Change password button, located in the left panel and in the paragraph User Account, Fig. 5:
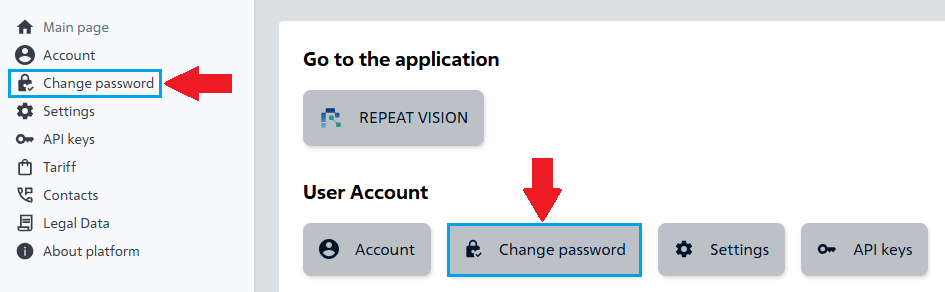
Fig. 5. Going to Change password#
After this, a password change window opens (see Fig. 6 below) in which you need to:
Enter the current password in the
Passwordfield;Enter a new password in the appropriate field;
Enter the new password again in the
Repeat passwordfield;Press the button Save
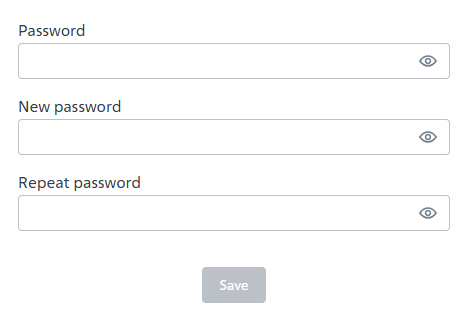
Fig. 6 Changing the password#
Note
By clicking on the button  you can:
hide
;show
 ,
entered password.
3. Settings#
By clicking on the Settings button located in the left panel and in the User Account paragraph (see Fig. 7 below), you can:
Change language (see Fig. 8 below):
Russian;
English.
Select a design theme (see Fig. 8 below):
Light theme;
Dark theme.
Change the icon type (see Fig. 8 below):
Standard;
With background.
On/Off Grid display on the workspace;
On/Off Block indexes display on the workspace;
On/Off Mini-map display on the workspace;
Change the number of Undo / Redo actions limit (from 0 to 50) using LMB.
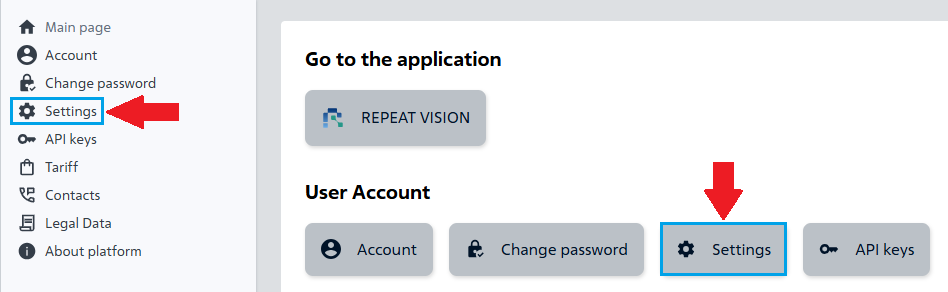
Fig. 7 Going to settings#
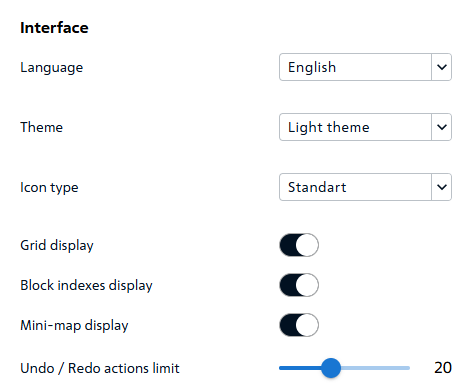
Fig. 8 Interface settings#
4. API keys#
To enter a new API key, you need to click on the API keys button, located in the left panel and in the paragraph User Account, Fig. 9:
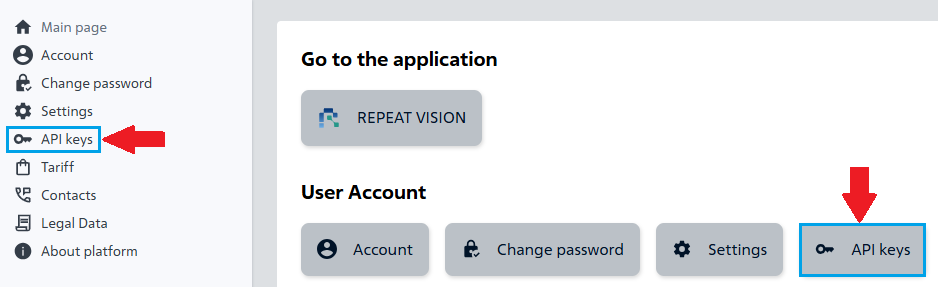
Fig. 9 Going to the API key page#
After this, a window opens for entering or viewing API keys, Fig. 10:
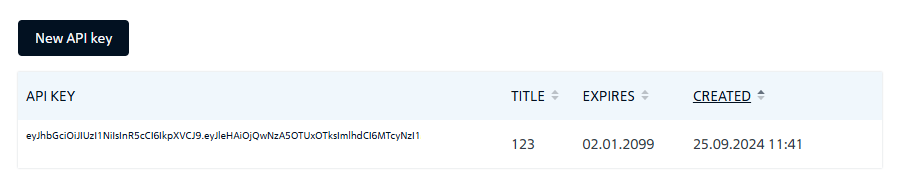
Fig. 10 API key#
5. Tariff#
To view information about the tariff, you must click on the Tariff button located in the left panel, Fig. 11:
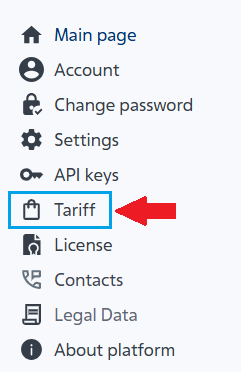
Fig. 11. Going to the tariff page#
The window that opens displays the following information (see Fig. 12 below):
Tariff status;
Available modules (the number of workstations is displayed only when working with a local distribution);
Subscription start date (displayed only when working with a local distribution);
Expiration date (displayed only when working with a local distribution)
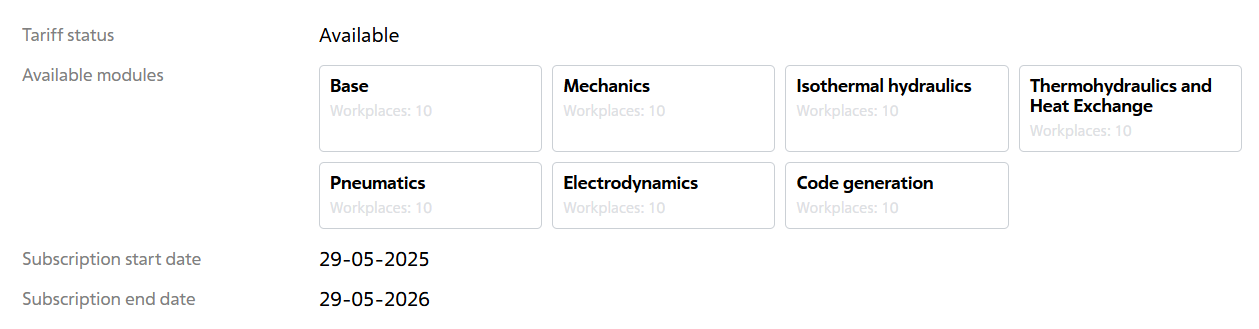
Fig. 12 Tariff information#
6. License#
To view license information, click on the License button in the left panel, Fig. 13:
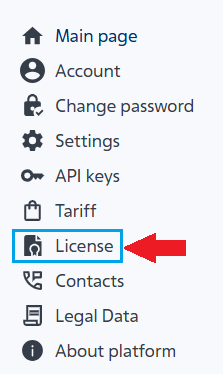
Fig. 13 Going to the license page#
After this, a window with information about the license opens, in which you can also enter a new key, Fig. 14:
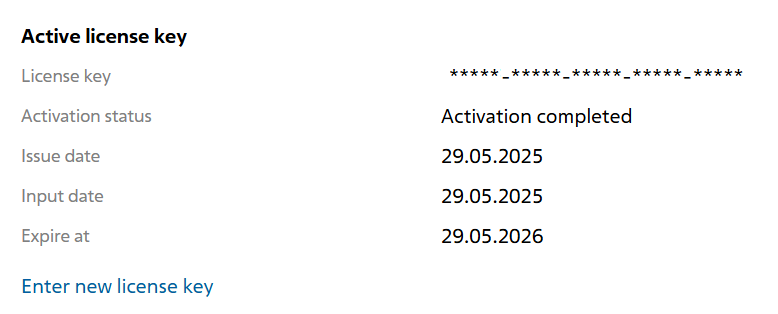
Fig. 14 License details#
7. Contacts#
To access contacts, you need to click on the Contacts button, located in the left panel and in the paragraph Contacts, Fig. 15:
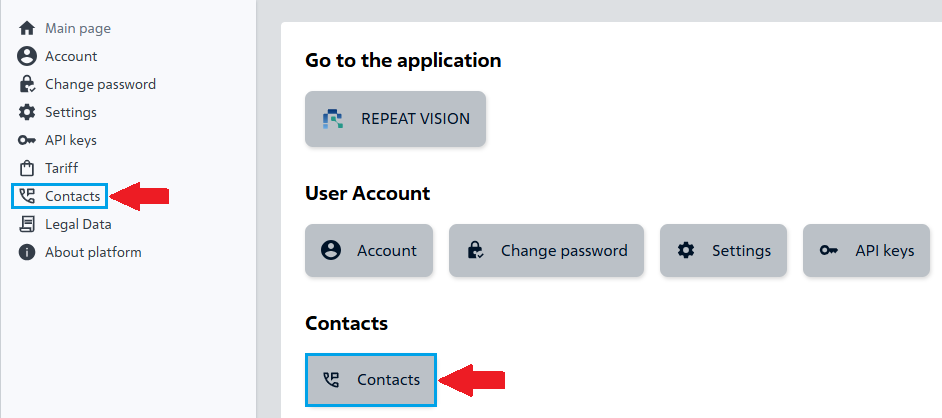
Fig. 15 Going to the contacts page#
After this, a window opens (see Fig. 16 below) with contacts for communication with:
Technical support;
Sales Department.
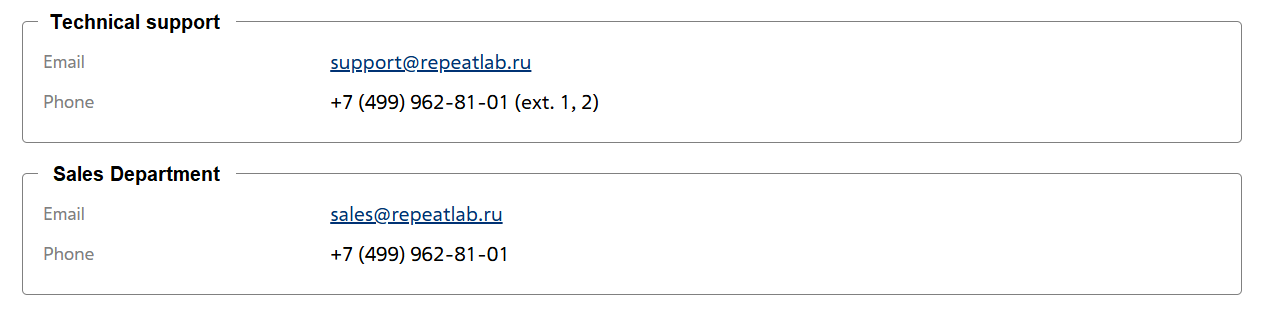
Fig. 16 Contacts#
8. Legal Data#
To access legal data, you must click on the Legal Data button located in the left panel or look at the information of interest in the paragraph Legal Data, Fig. 17:
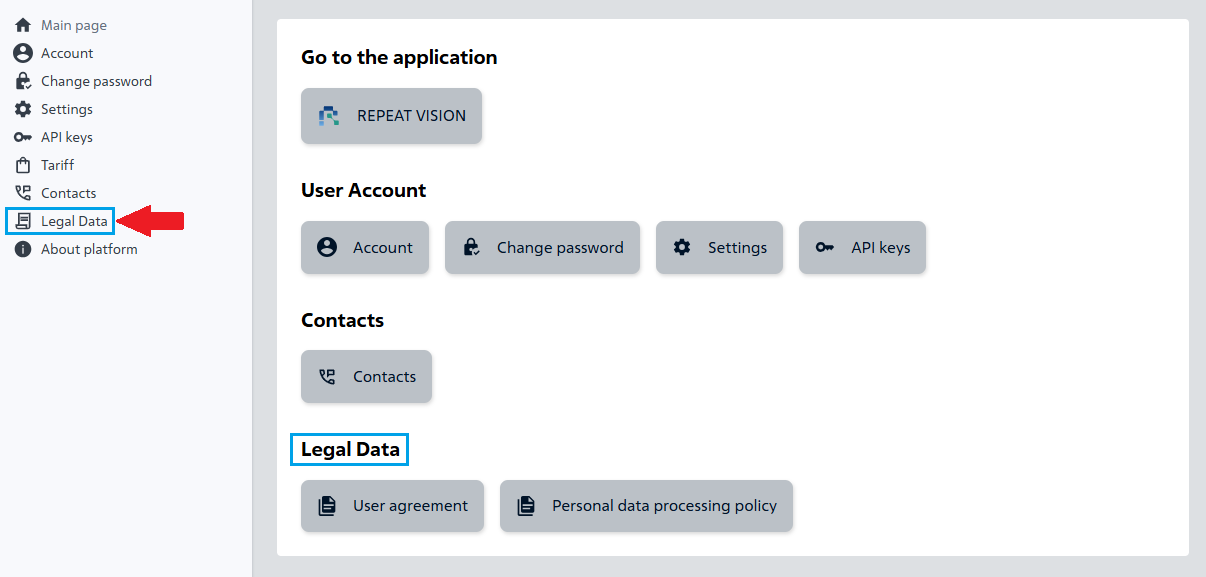
Fig. 17 Legal Data#
This section contains the following documents (see Fig. 17 above):
User agreement;
Personal data processing policy.
9. About platform#
To view information about the platform, click on the About platform button located in the left panel, Fig. 18:
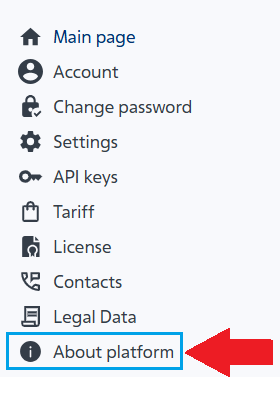
Fig. 18 Go to the platform information page#
Information will appear in the window that opens (see Fig. 19 below):
Version;
Build.
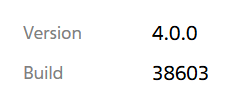
Fig. 19 About platform#
Note
Clicking the
Main pagebutton returns you to the user profile main screen.Clicking on the REPEAT VISION button (see Fig. 20 below), located in the paragraph Go to the application, takes you to the project selection page.
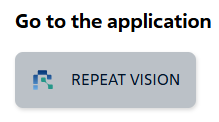
Fig. 20 Going to the application page#