

FSM#

Block appearance in REPEAT VISION#
The Finite State Machine (FSM) block. To access this block, use one of the following methods:
By double-clicking on the block LMB
Select a block by clicking on it with LMB;
Click on the ‘Edit’ button located in the ‘Actions’ section of the right panel for working with the block.
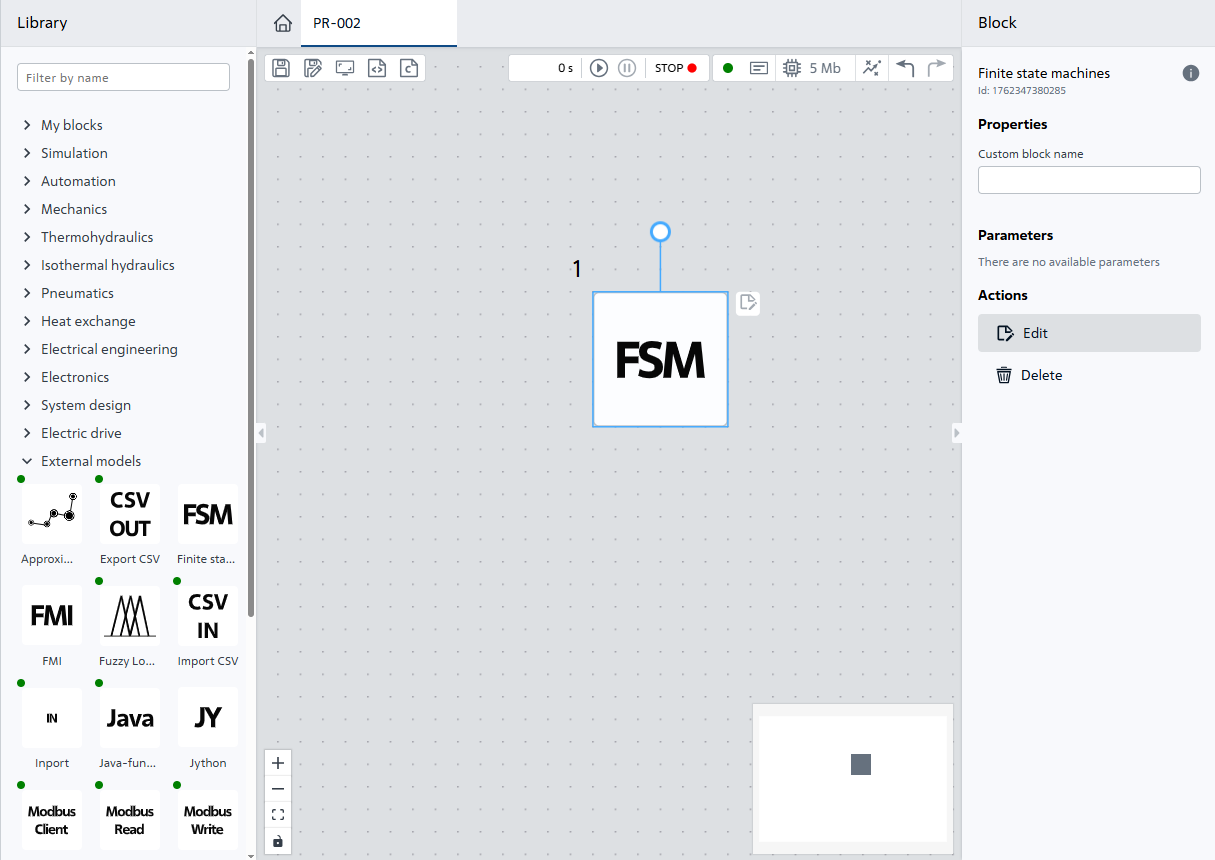
Fig. 1 The second method of getting into the Finite state machines block#
While in the block, two blocks will appear in the left panel of the block library under the External models section (see Fig. 2 below):
state – state block;
start — start point.
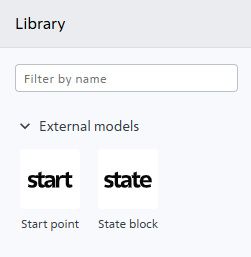
Рис. 2 Блоки state и start#
Important
These blocks can only be used inside the FSM block, they are not available in the block library itself.
1. State block state#
When adding this block to the work surface, we get this window, Fig. 3:
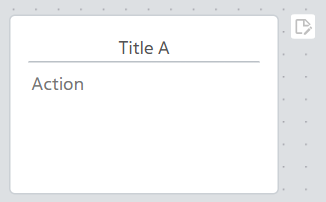
Fig. 3 State block#
The block consists of two fields:
Title A;
Action.
Hint
In order to start editing these fields, you need to click on the
 button located in the upper right corner of the block.
To leave the editing mode, click on the
 button, which appeared instead of the button after activating the block field editing mode.
When adding multiple state blocks, you can connect them. To do this, hover the cursor over the block and, when the cursor changes to  , hold down LMB and drag the connection to another block, Fig. 4:
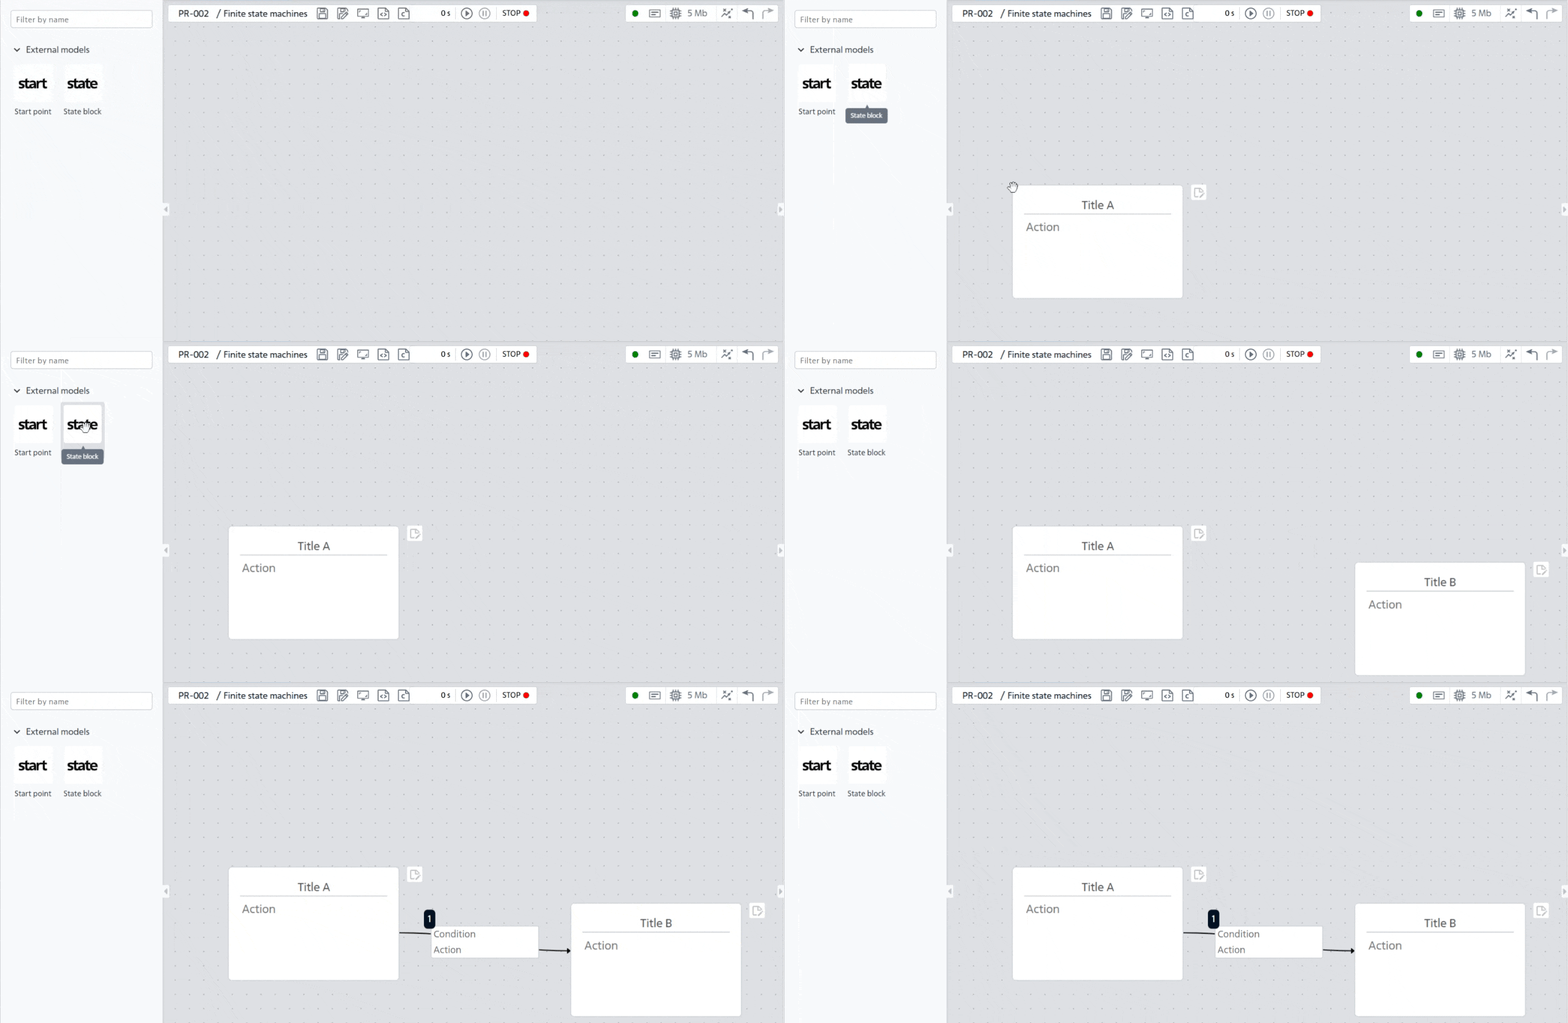
Fig. 4 Example of connection between blocks#
Hint
Each connection from the block is assigned a number (see Fig. 5 below), which is located in the upper left corner of the window (transition between states).
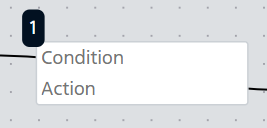
Fig. 5 Example of numbering of transitions between statuses#
Important
Numbering of transitions between blocks is not end-to-end. For each block, the numbering of transitions begins with 1.
A window (transition between statuses) also appears on each link in which, when you press the LMB once, you can set:
Condition, to be met;The
Actionafter which the above condition shall be met.
2. Block Start point start#
The block for starting transitions between statuses, Fig. 6:

Fig. 6 Start point#
When you hover over this block, similar to the state block, the cursor changes its appearance to , and it can also be connected to other blocks by holding down LMB and then dragging the link to another block, Fig. 7:
Fig. 7 Block connection Start point#
While in the block, the following window appears in the right panel of the project, Fig. 8:
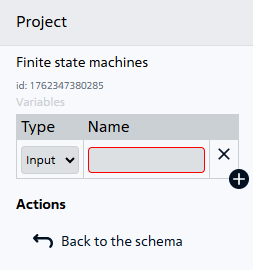
Fig. 8 Variables#
The variables table contains two columns:
Type:
Input;Output;Internal,
which will have a port on the FSM block;
Name, that will be displayed at the FSM block port.
Hint
By clicking on the  button located in the lower right corner, you can add
Variables, and when you click on the  button, delete them.
Note
To exit the block and return to the project, you need to click on the Back to the schema button, located in the right panel in the Actions section.
3. Properties#
No
4. Inputs and outputs#
Appear when appropriate variables are entered