

New project#
A project is created by LMB on the button  (Create project) on the central panel, Fig. 1:
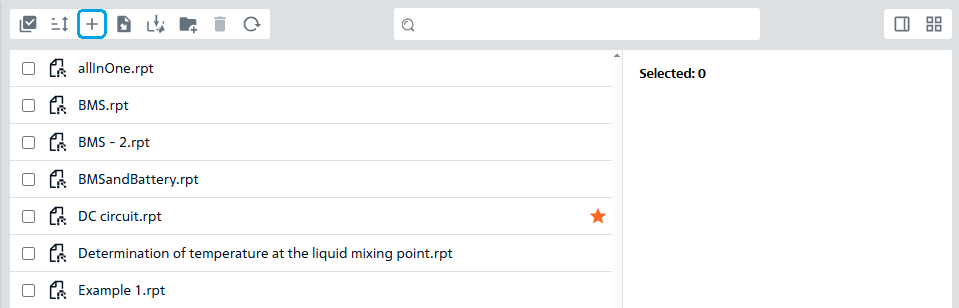
Fig. 1 Creating a new project#
Then, in the window that opens, you need to enter the title of the project and click LMB on the Save button, Fig. 2:
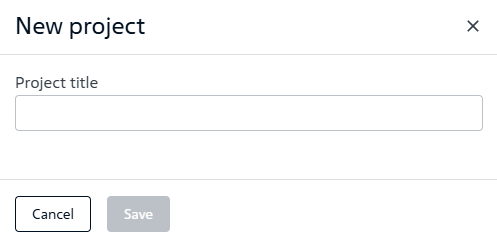
Fig. 2 Entering the project title#
Note
If there is no need to create a new project, you should click the Cancel button
To work with an existing project, an authorized user selects the option to select from existing projects. To select a project from previously created ones, LMB on it. Fig. 3:
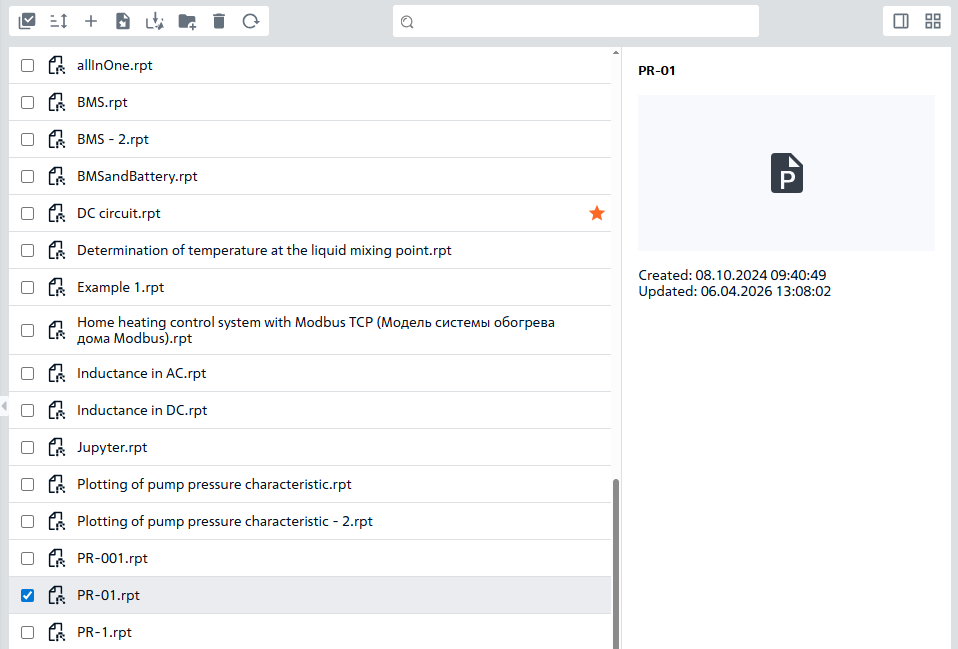
Fig. 3 Selecting a project from the list of previously created ones#
Note
To open a previously created project, double-click on it LMB
You can also open a previously created project by RMB on it and selecting the Open option in the window that opens, Fig. 4:
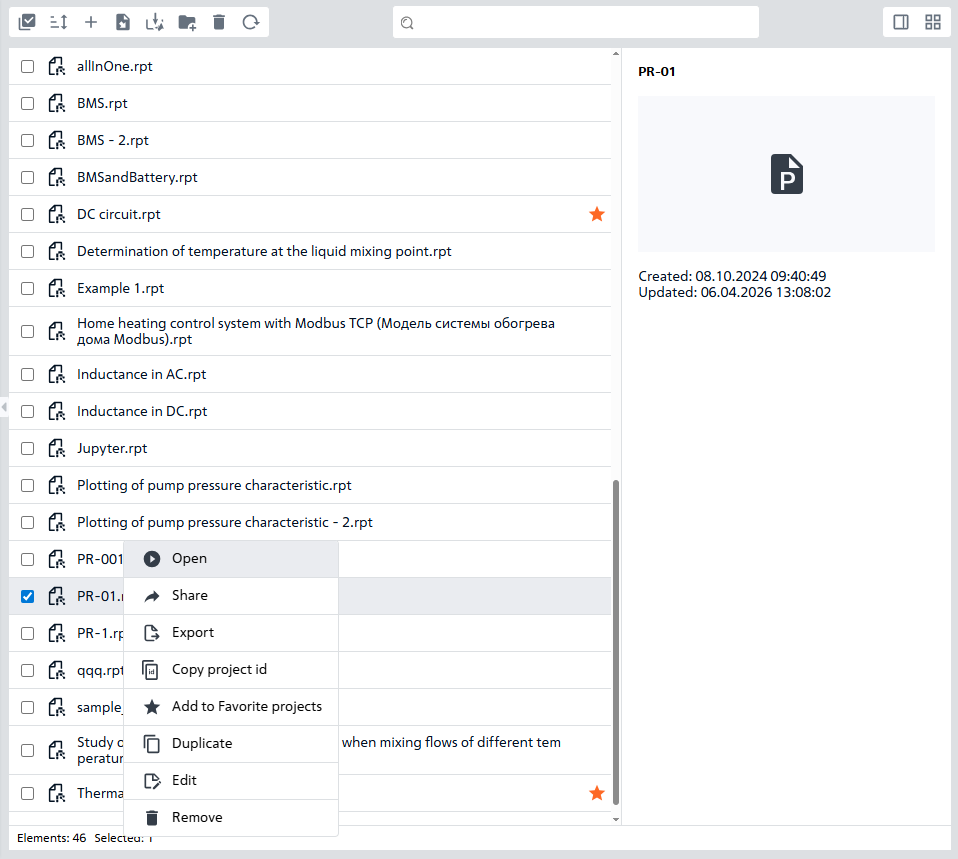
Fig. 4 Alternative way to open a project from the list of previously created ones#
To create a copy of an existing project, RMB on the desired project and select the Duplicate option in the window that opens, Fig. 5:
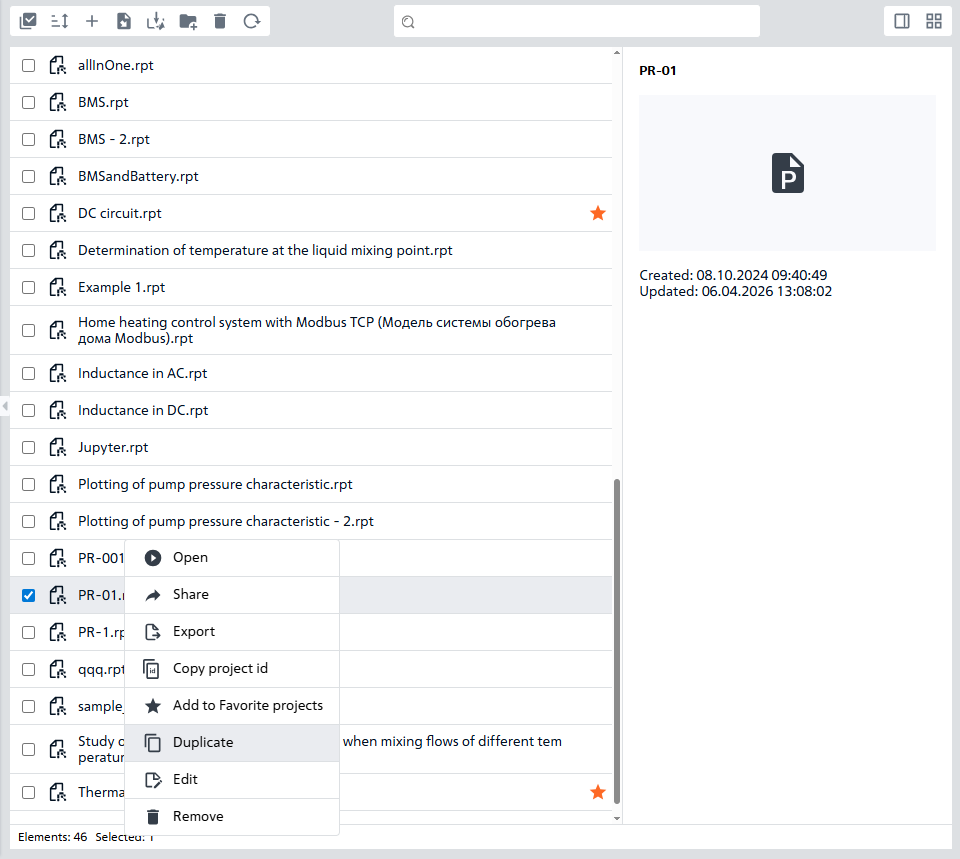
Fig. 5 Duplicating a project#
To select a project, a list of existing projects is provided with a quick search field (search by name is implemented, where it is enough to enter part or the full name of the project, and the list will be instantly rebuilt according to the name mask), Fig. 6:

Fig. 6 Example of searching for an existing project from the list of created projects#
Creating a new folder for convenient storage and grouping of projects is done by clicking on the button  (Create new folder) on the central panel.
Note
To move selected projects to a new folder, you need to select them and drag them with the cursor to the desired folder.
File selection occurs as follows:
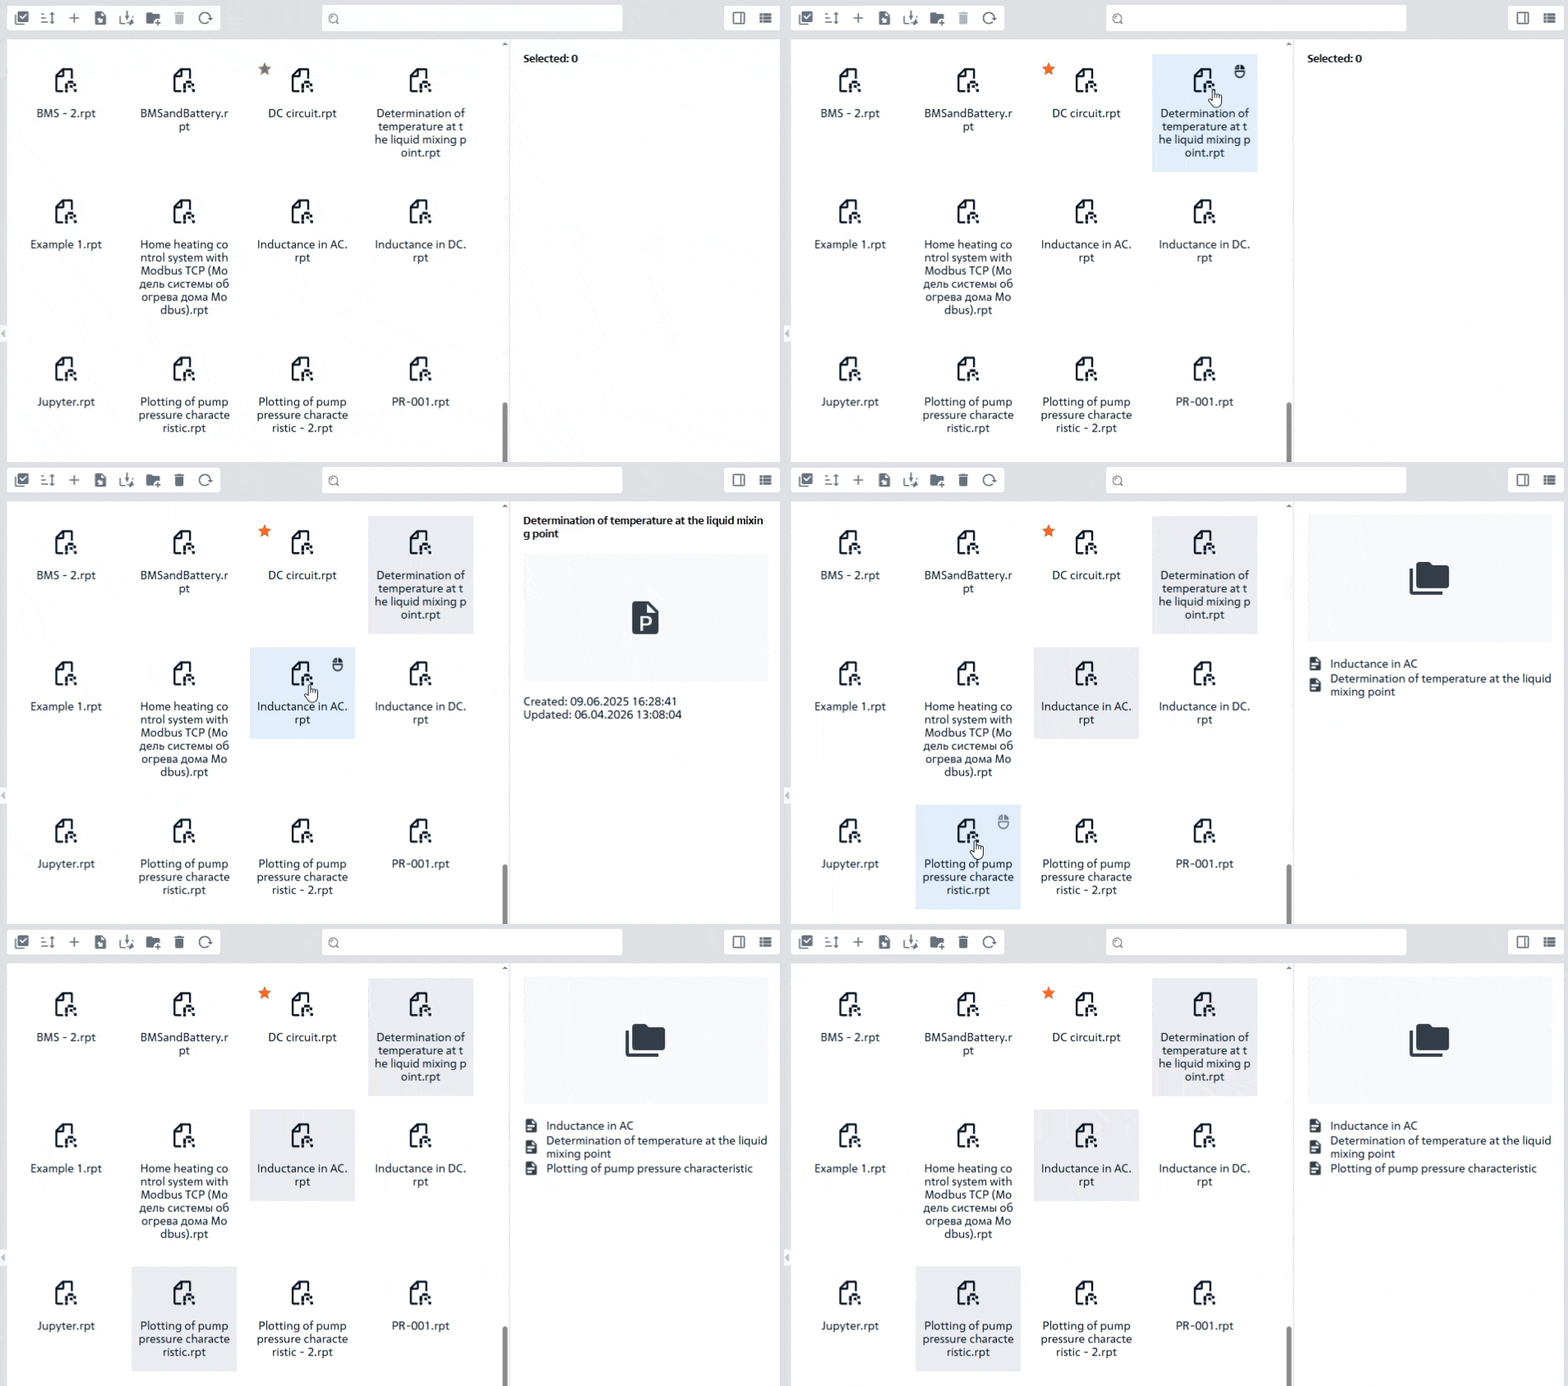
Fig. 7 Example of selecting files using the Ctrl key and the mouse#
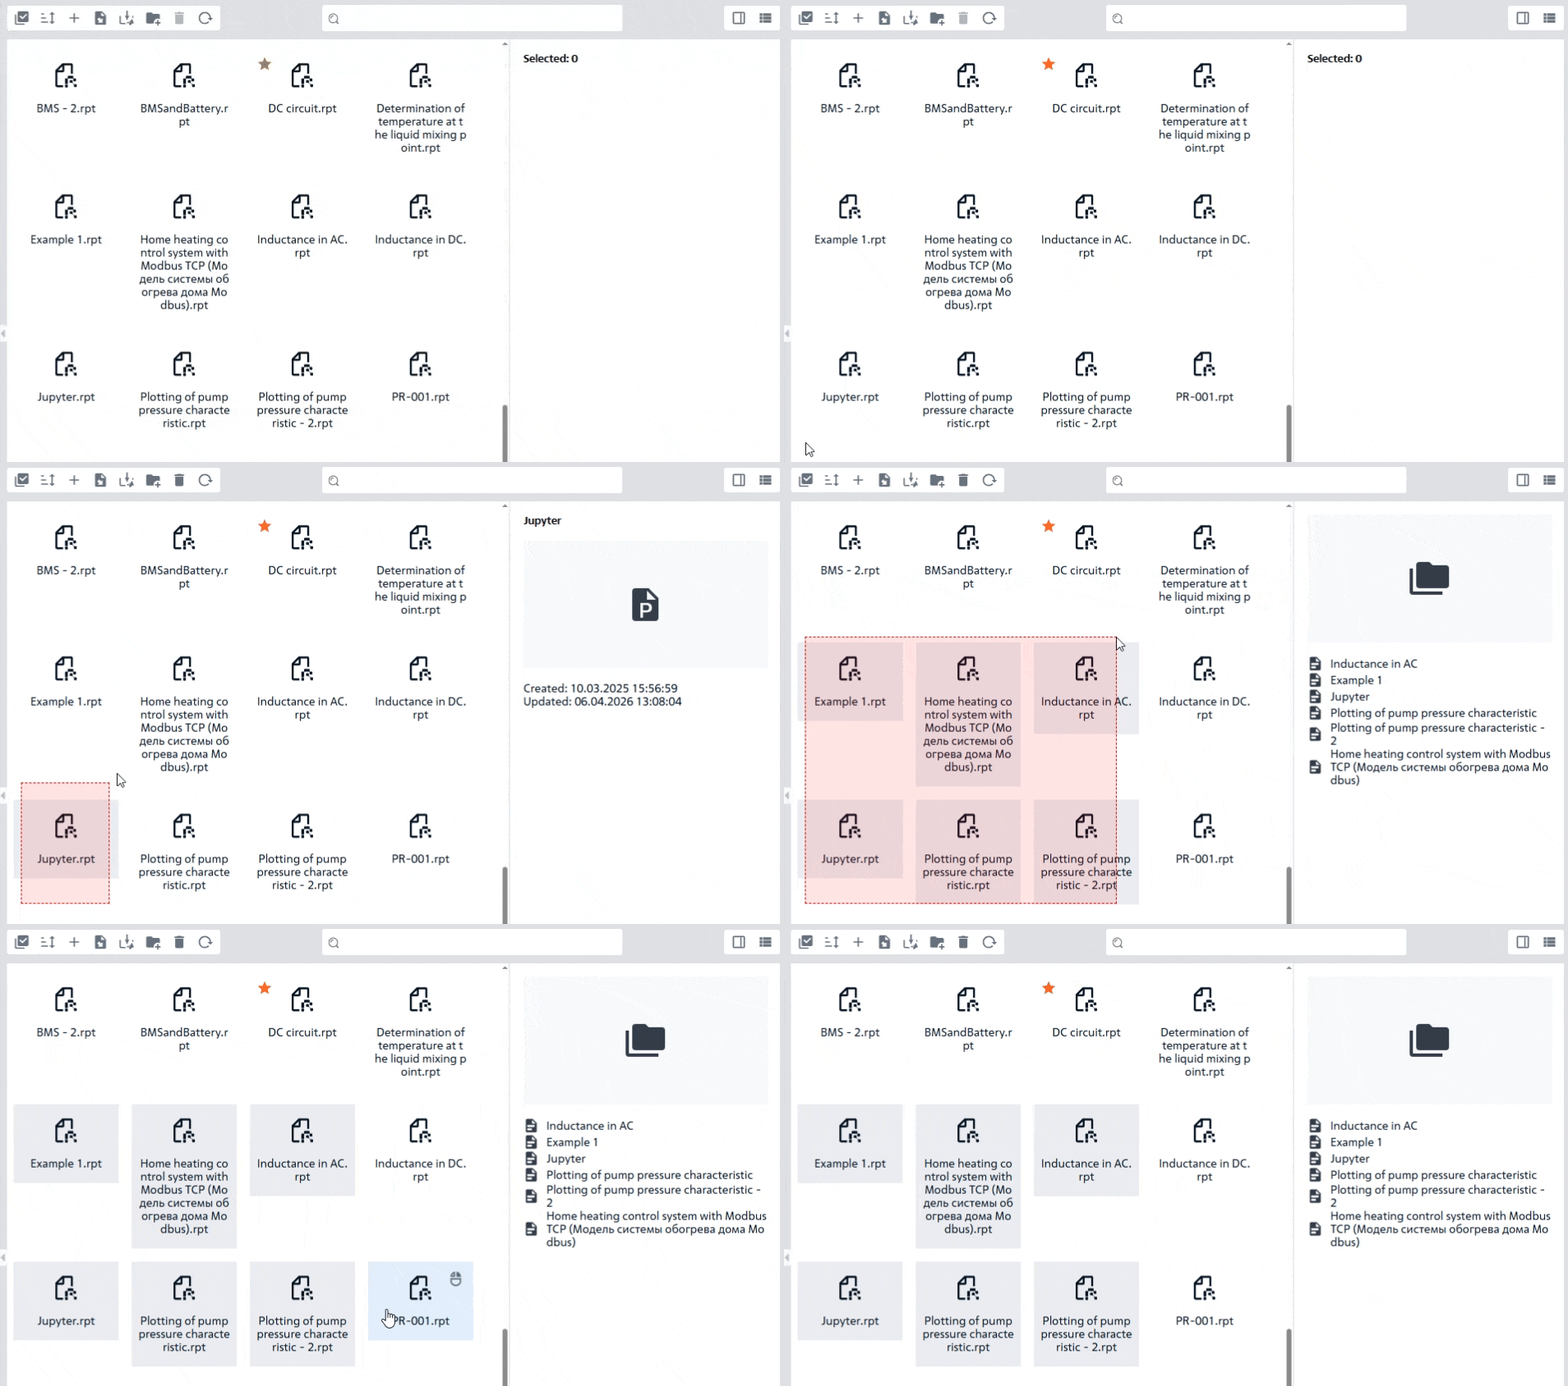
Fig. 8 Example of selecting files with the mouse#
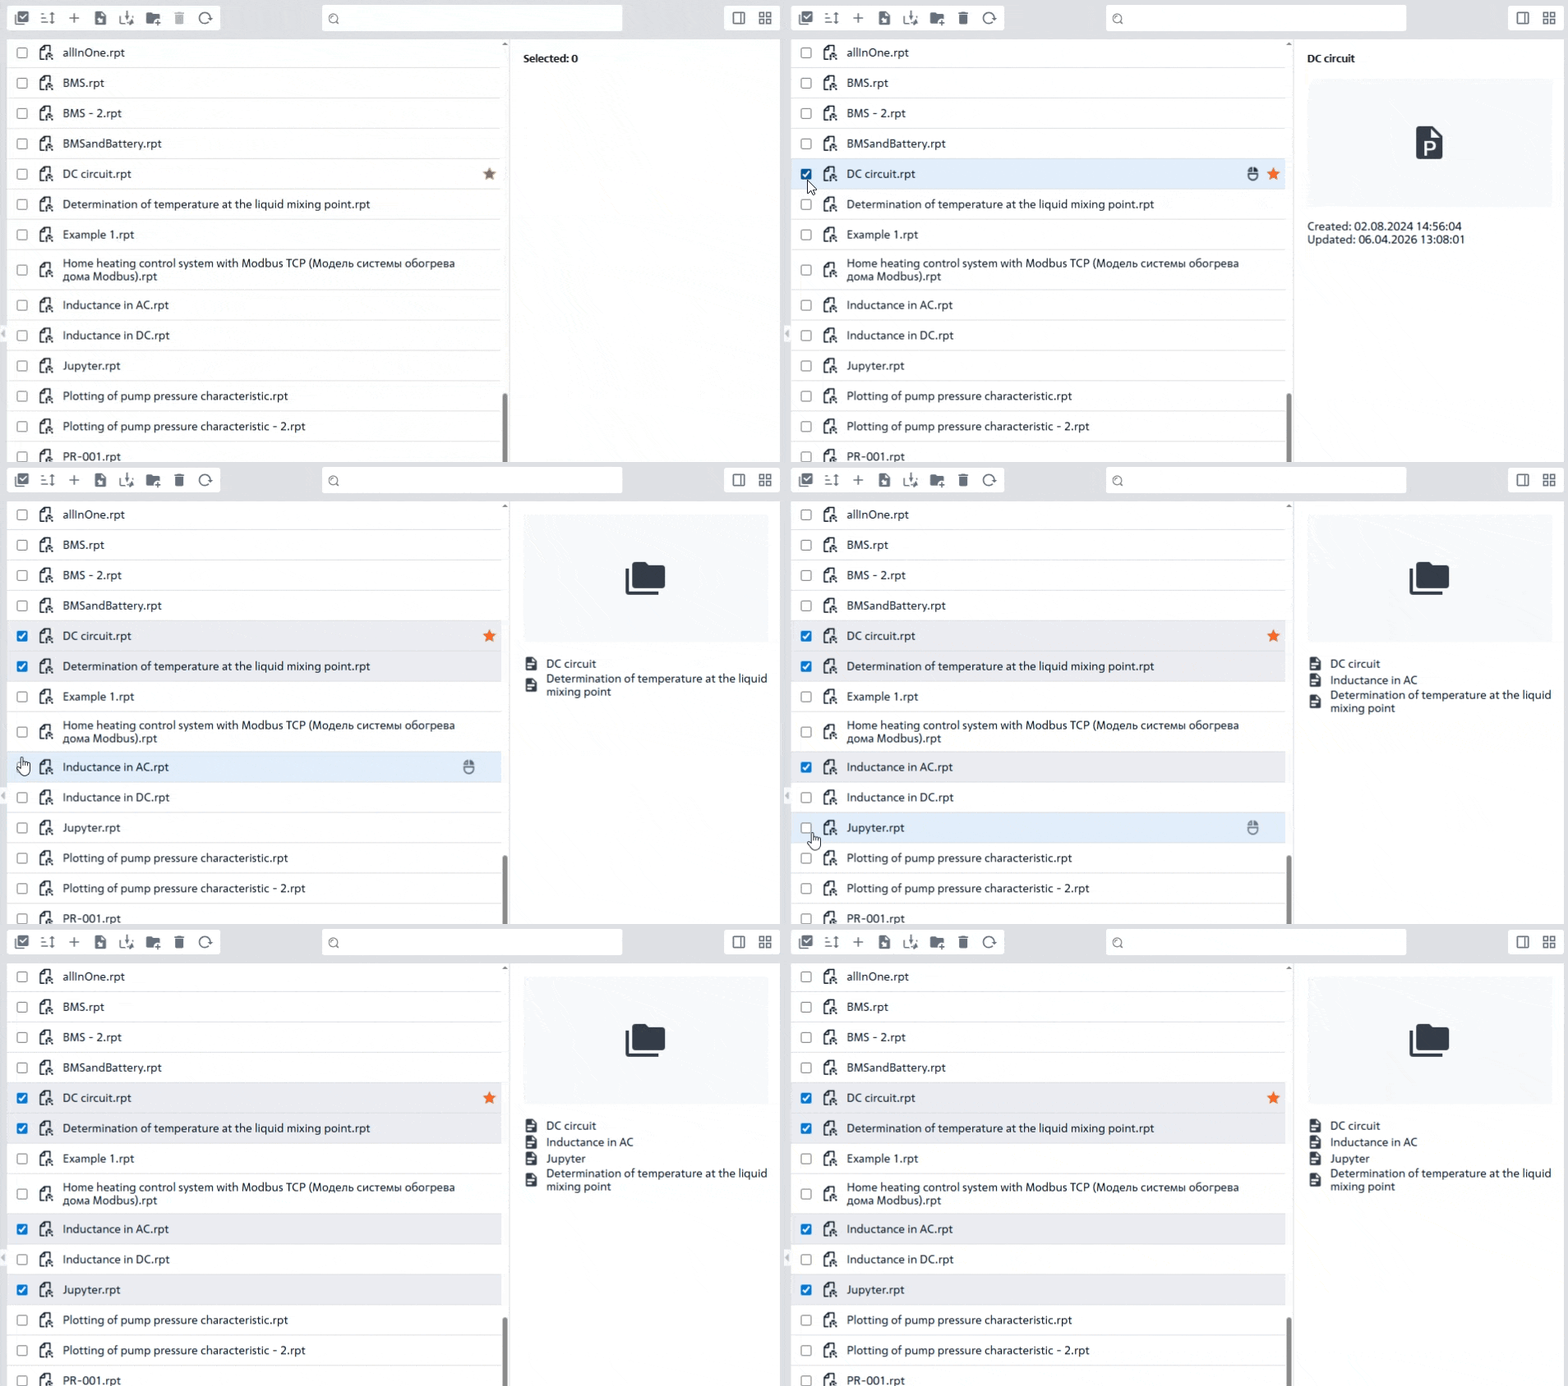
Fig. 9 Example of using checkboxes#
Selecting all projects is similar to selecting all selected projects.
The sorting of the list of all projects fully corresponds to the sorting list of demo projects.
The selected project is deleted using any of the steps specified in deleting favorite projects.
Updating the list of projects can be done in the same way as updating list of demo projects.
Preview display is turned on and off in the same way as in demo projects.
Changing the display type of project files occurs exactly as in demo projects.