

Paired blocks#
The application also has paired “Go to”  and “Go from”
 blocks, which can be used to assign links between blocks. This will be especially useful when it is necessary to improve the readability of the scheme or when it is necessary to connect blocks that are quite distant from each other.
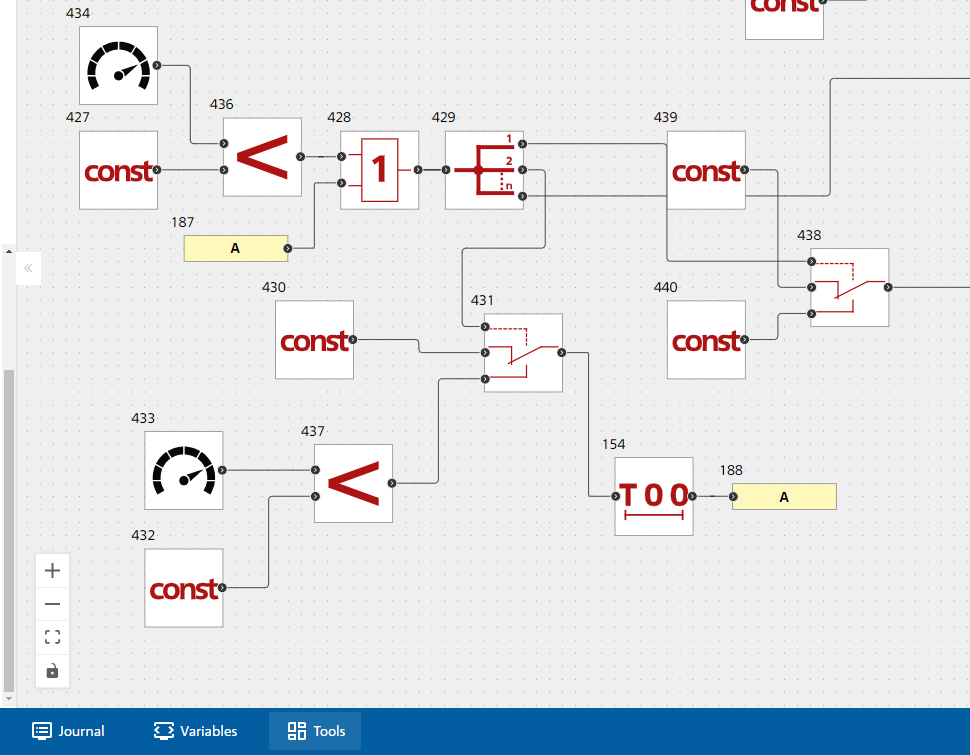 Fig. 1 Example of using Go to - Go from blocks
The blue circle on the  selected block allows you to rotate the block in any direction with 90° multiplicity°. The blue dots at the remaining corners of the selected block resize the block in the stretch direction by moving the blue dot itself across the canvas.
Symbol  on a dedicated block allows you to add a graph to the “Visualization” field.
When selecting blocks in the diagram, a context menu with options becomes available:
opening of the information panel with the property setting (right side);
invoking of a visualization with a preset variable selector for this object (bottom).
For the selected block of the circuit, the information and property control panel is immediately rebuilt, where fields for controlling only this block are displayed.
Copying a block:
Copying a block. For this function, use the “hot keys” (Ctrl + C / Ctrl + V) to the selected cursor position on the workspace (see Fig. 2).
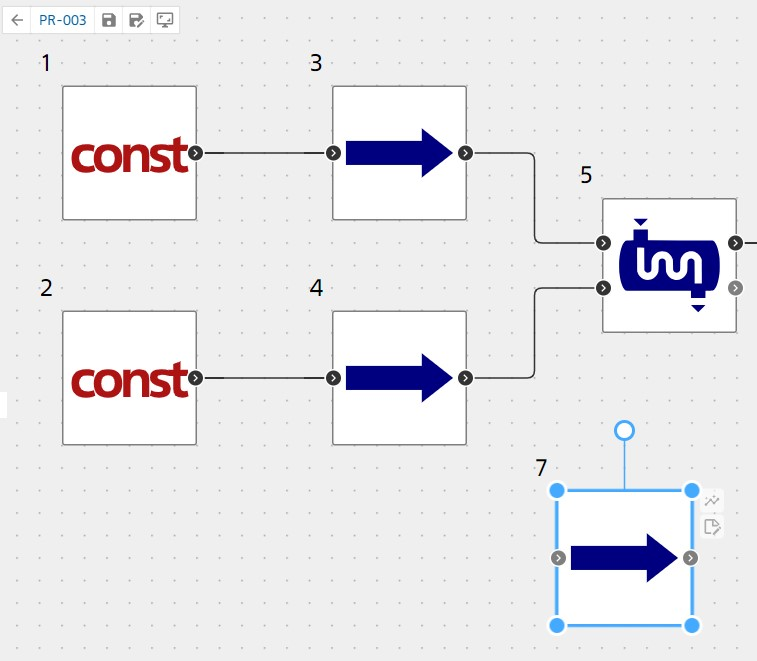
Fig. 2 Inserting a block by copying to a position specified by the mouse cursor on the workspace.
It is also possible to copy or move a group of blocks and connections at once, selecting the desired ones using pressed Ctrl key and left-clicking on desired components (see Fig. 3 below) or by creating a selection area to overlap the necessary components by holding down the Shift key and holding down the left mouse button (see Fig. 4 below).
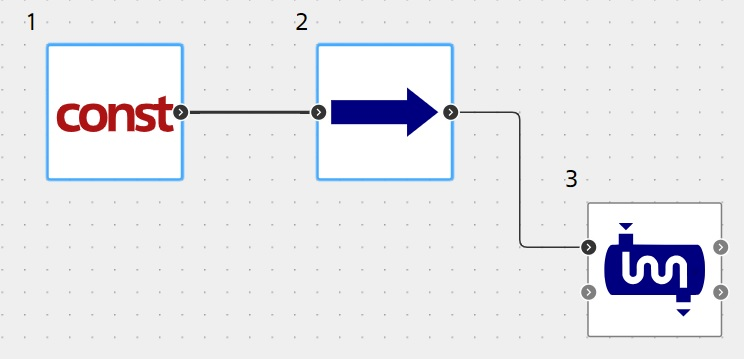
Fig. 3 Selecting a group of blocks and connections using Ctrl key and mouse
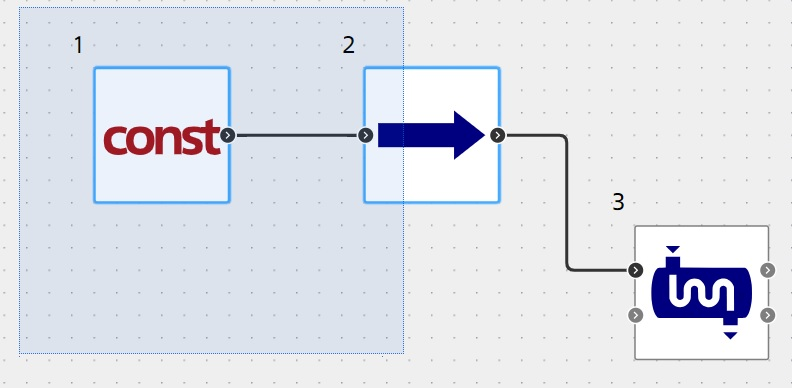
Fig. 4 Selection of a group of blocks and connections using the selection area
You can use Cancel  and Repeat
 buttons to cancel or repeat an action on the workspace. You can also use hot keys (see section Hot keys).
When working with a diagram, you have the following options for saving it:
normal saving of the scheme under the created name - button
 (Save), located in the left corner of the canvas;
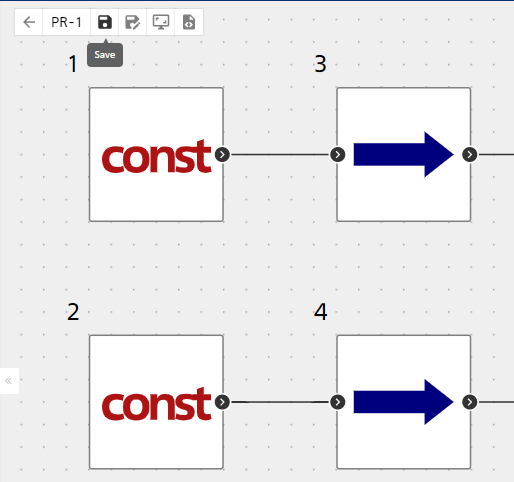
Fig. 5 Saving the circuit
button
 (Save as…) allows you to save changes to the scheme under a new name without changing the original project. To do this, you need to click on the button, located on the left corner of the canvas and after that in the window that opens you should enter a new name for the scheme, then confirm saving under the new name by clicking on the
Savebutton or cancel saving by clicking on the correspondingCancelbutton;
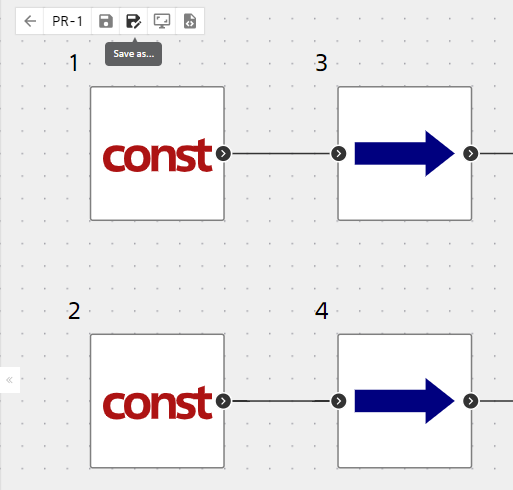
Fig. 6 Save as
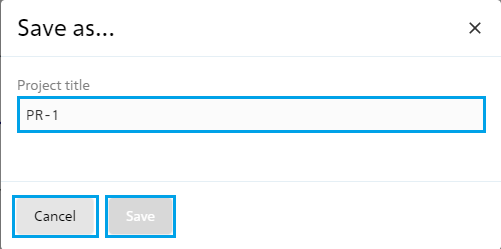
Fig. 7 Confirming or canceling saving
a screenshot of the diagram is saved when you click the button
 (Save Screenshot) located in the left corner of the canvas. After which the diagram is downloaded to your PC. The diagram is saved on a plain gray background in .svg format.
The screenshot is saved to the default folder
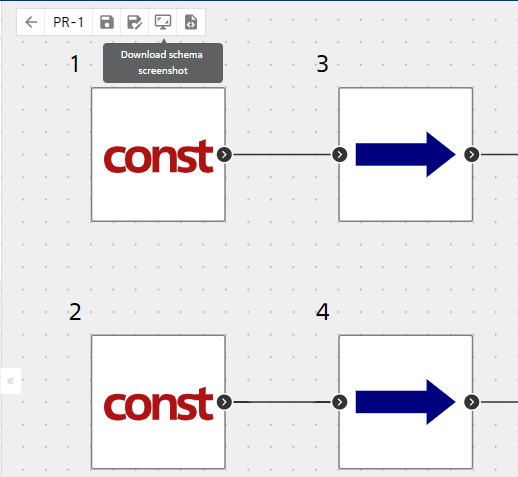
Fig. 8 Saving a screenshot
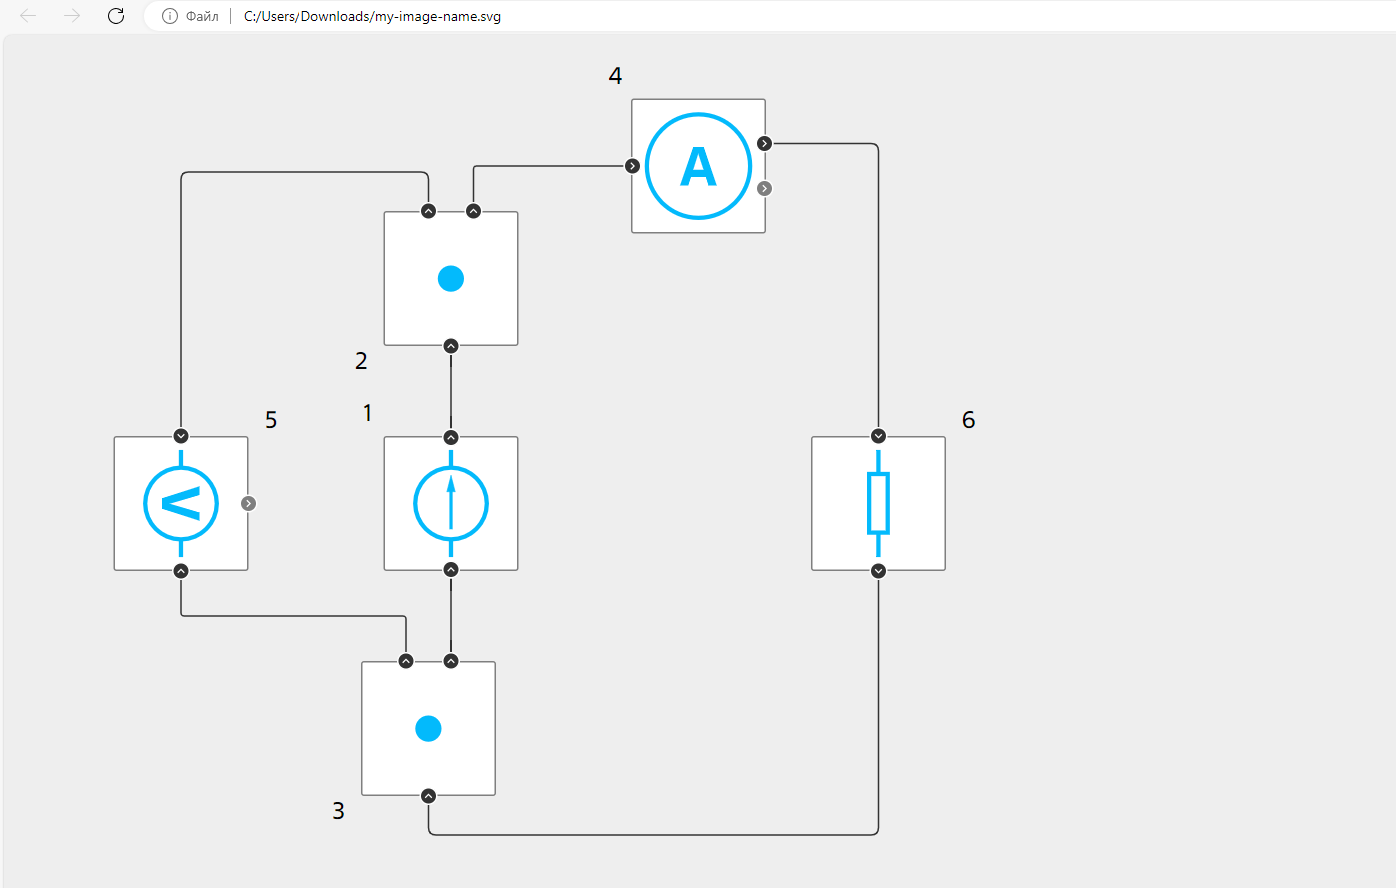
Fig. 9 Example of a saved circuit