

Custom blocks#
This function allows the user to create its own block
1. Creating a block#
To create a “Custom block” you need to:
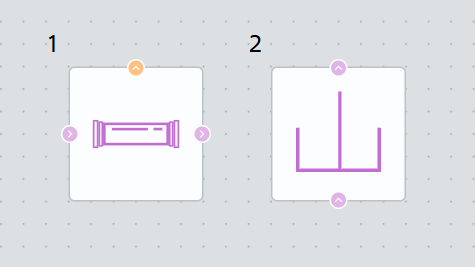
Fig. 1 Adding two blocks to canvas#
Important
A group of blocks that can be combined into a “Custom block” does not necessarily have to be connected to each other
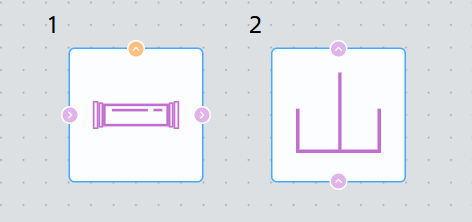
Fig. 2 Blocks selection#
After that, it is necessary to click RMB on one of the blocks and in the window that opens, click LMB on the
Create groupline, Fig. 3:
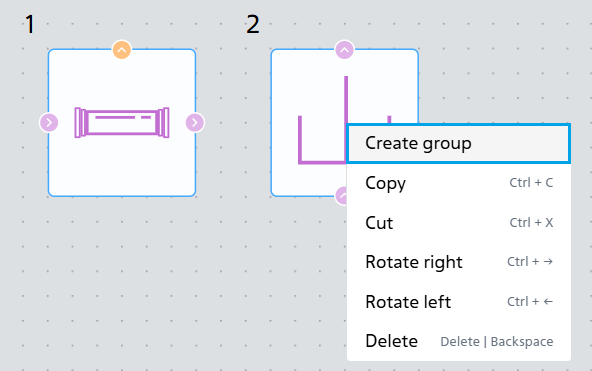
Fig. 3 Creating a group#
After that, the selected blocks will be put into “Group [1]”, Fig. 4:
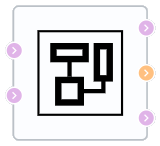
Fig. 4 Group [1]#
Note
In order to see what is inside the “Group [1]”, which replaced all selected blocks on canvas, it is necessary to double-click LMB on it, Fig. 5:
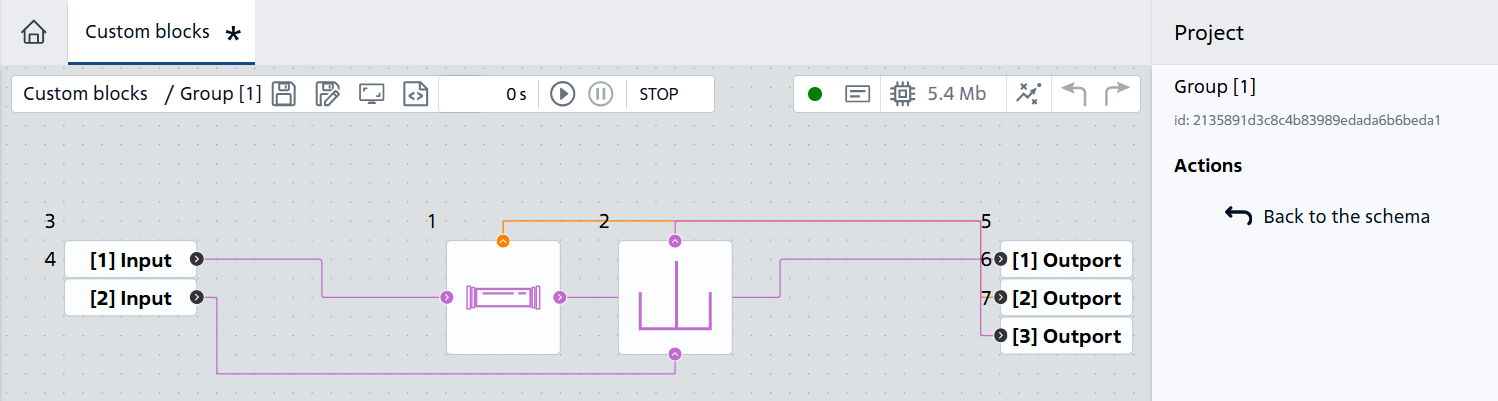
Fig. 5 Viewing the “Group [1]”#
Important
“Group [1]” does not have to be converted to “Custom block”
The following settings are available for “Group [1]”:
Rename by double-clicking LMB on the name “Group [1]” in the right panel;
Add properties by clicking the Add property button, linking them to blocks within the group. They can also be renamed by double-clicking LMB on the property name;
Rename parameters by going to the group. Next, you need to specify a custom name for the port blocks and their serial number.
In order to complete the creation of a “Custom block”, it is necessary to select a “Group [1]”, right-click RMB on it and select LMB the
Save as blockline, Fig. 6:
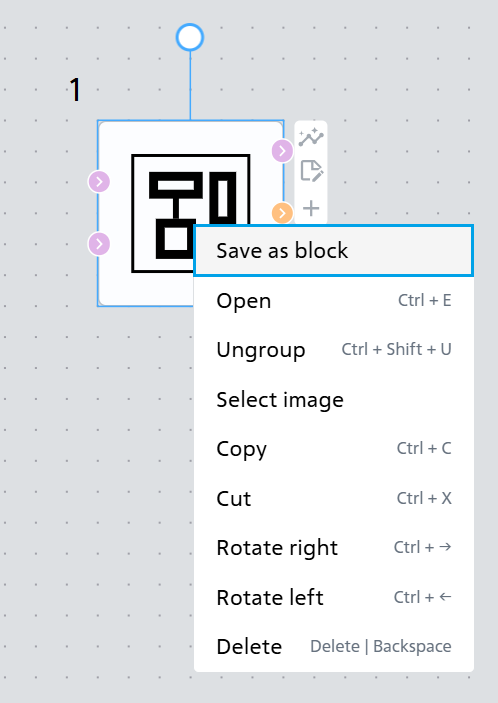
Fig. 6 Completing creation of Custom block#
In the window that opens, enter:
“Name” of the user block;
Name of the “Subsection” this block will be included in. This is done for the convenience of sorting user blocks (You can select an existing subsection from the drop-down list or enter a name for a new one);
You can enter a “Description” of this user block, which will be displayed when you click on the button
 in the right panel of working with the block;
It is also possible to upload your own image for the block by clicking on the Change button.
After entering all the necessary descriptions, click on the Save button to complete the block creation (see Fig. 7 below). After that, the “Custom block” will appear on the canvas.
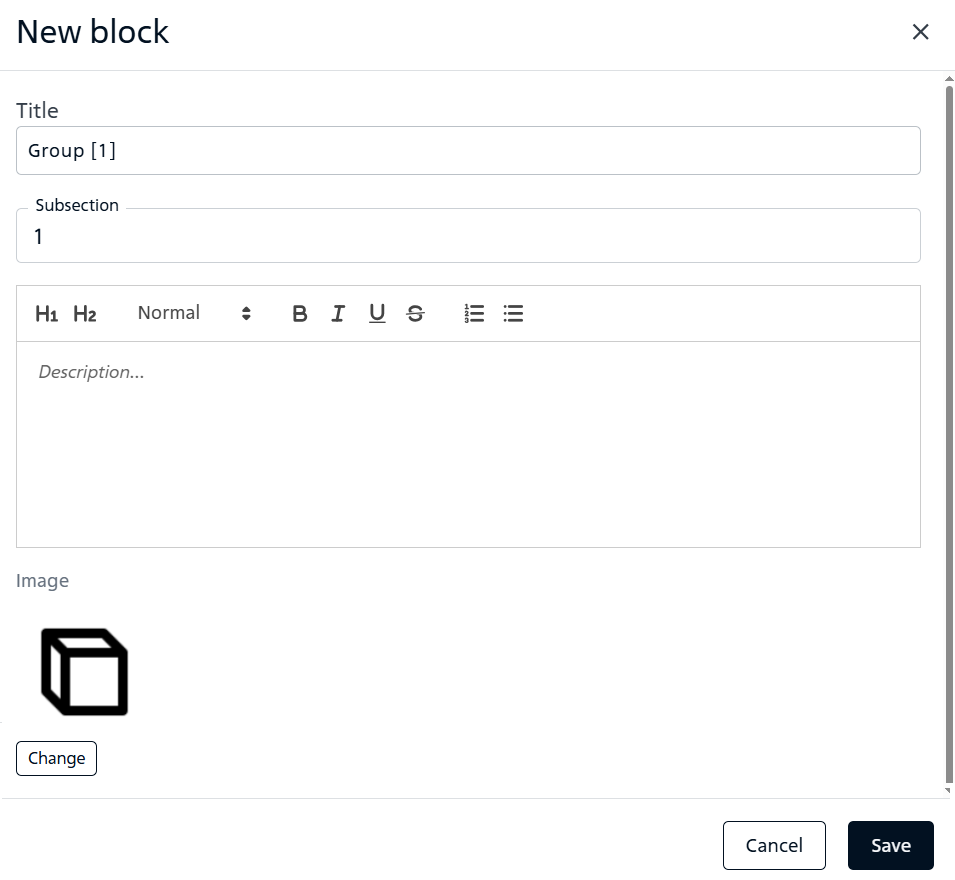
Fig. 7 Entering block data#
2. Adding a block#
You can add a “Custom block” using the elementary blocks panel on the left:
To do this, you need to go to the «My Blocks» tab;
Clicking on this tab will display a list of all «Subsections» created by the user;
When you expand the desired «Subsection», a list of user blocks will appear, with which you can transfer the desired block to the canvas, Fig. 8:
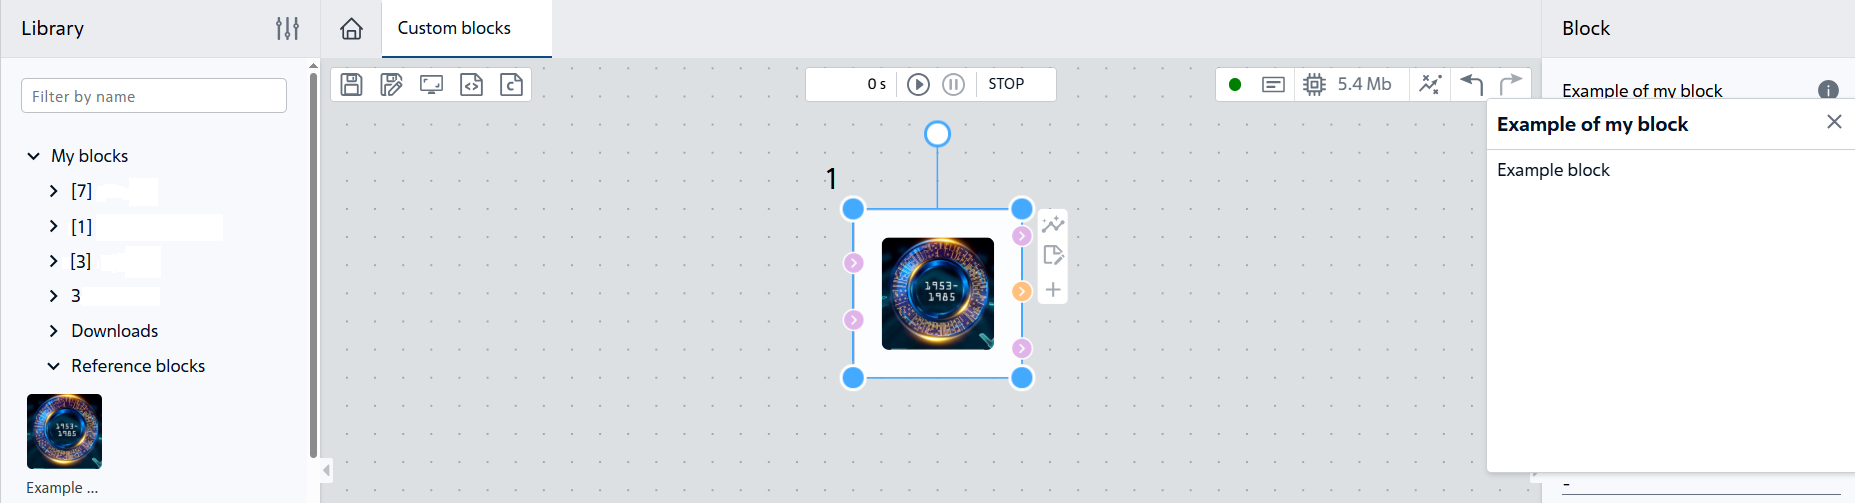
Fig. 8 Adding a Custom Block#
3. Editing a block#
To edit the «Custom block» you need to go to it by double-clicking the LMB, after which a new tab will open, Fig. 9:
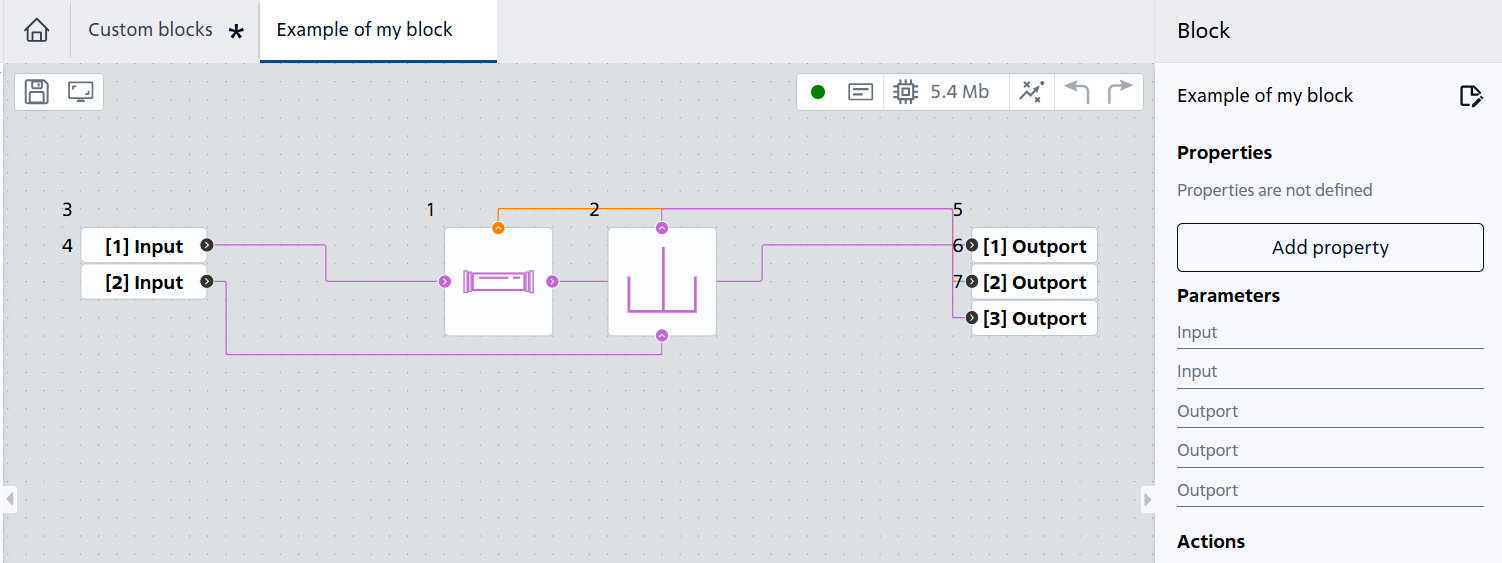
Fig. 9 Custom block editing#
Hint
You can also access editing from the “Projects” page by selecting the “My Blocks” folder, the subsection folder, and then double-clicking LMB on the required block, Fig. 10:
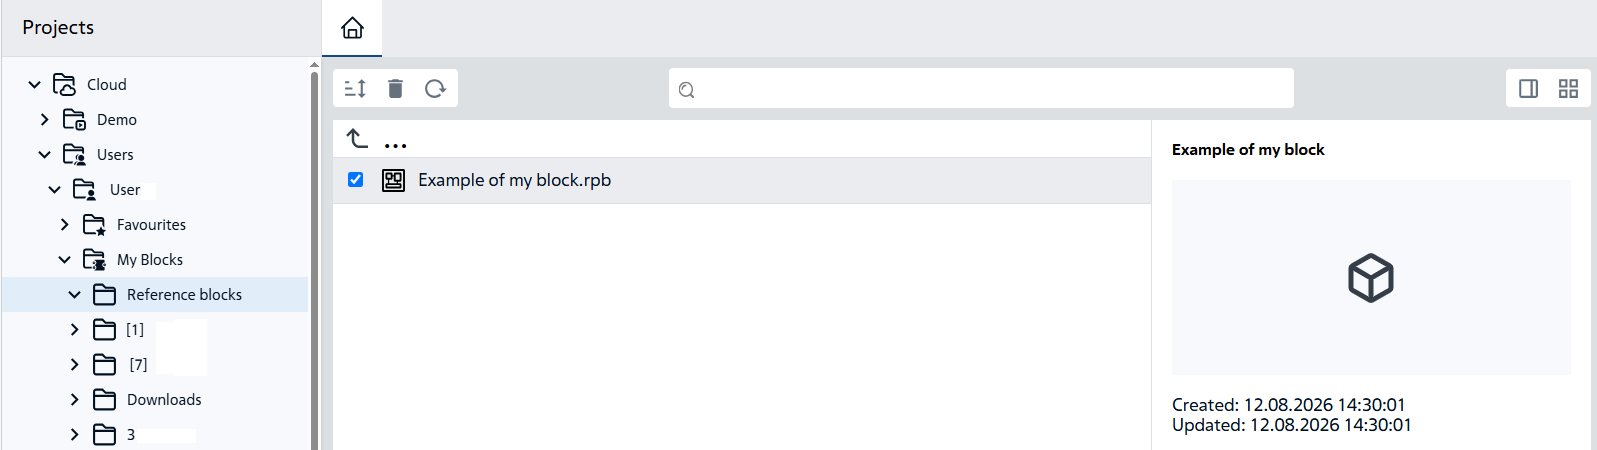
Fig. 10 Alternative transition to editing the Custom Block#
If editing is not necessary, then you should close the “Custom Block” tab by clicking on the button  to the right of the name of the tab with the block.
4. Delete a block#
Deleting a block from the diagram is similar to deleting any other block.
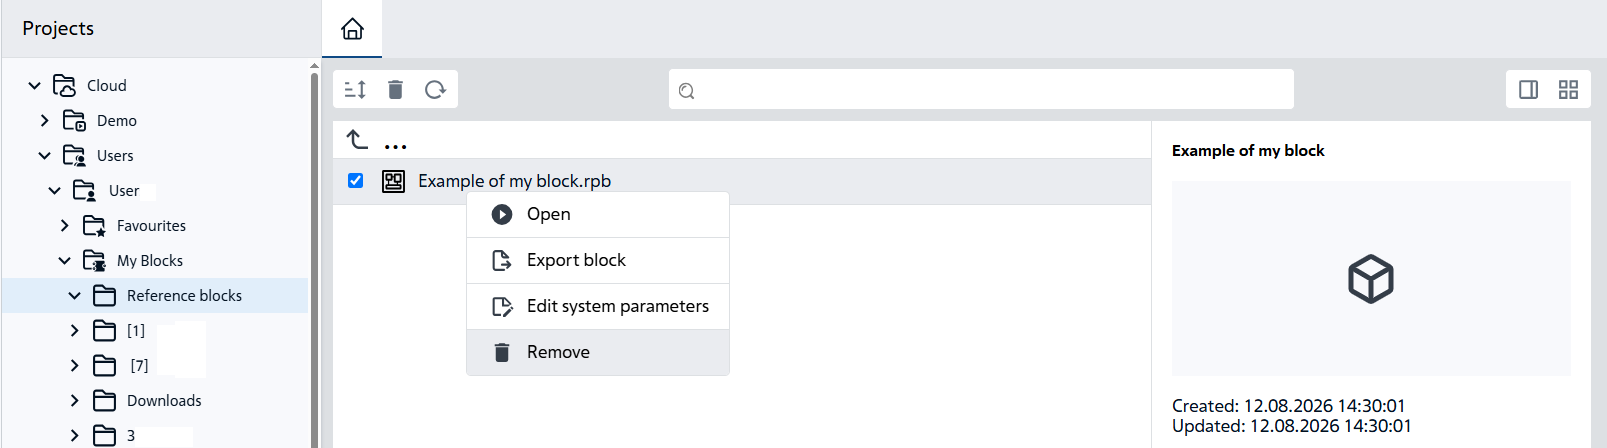
Fig. 11 Deleting a Custom block#
5. Changing the system parameters of the block#
To change the system parameters of a block:
Title;
Subsection;
Description;
Image,
press the button  «Change the system parameters of the block» in the panel for working with the block located to the right of the canvas, Fig. 12:
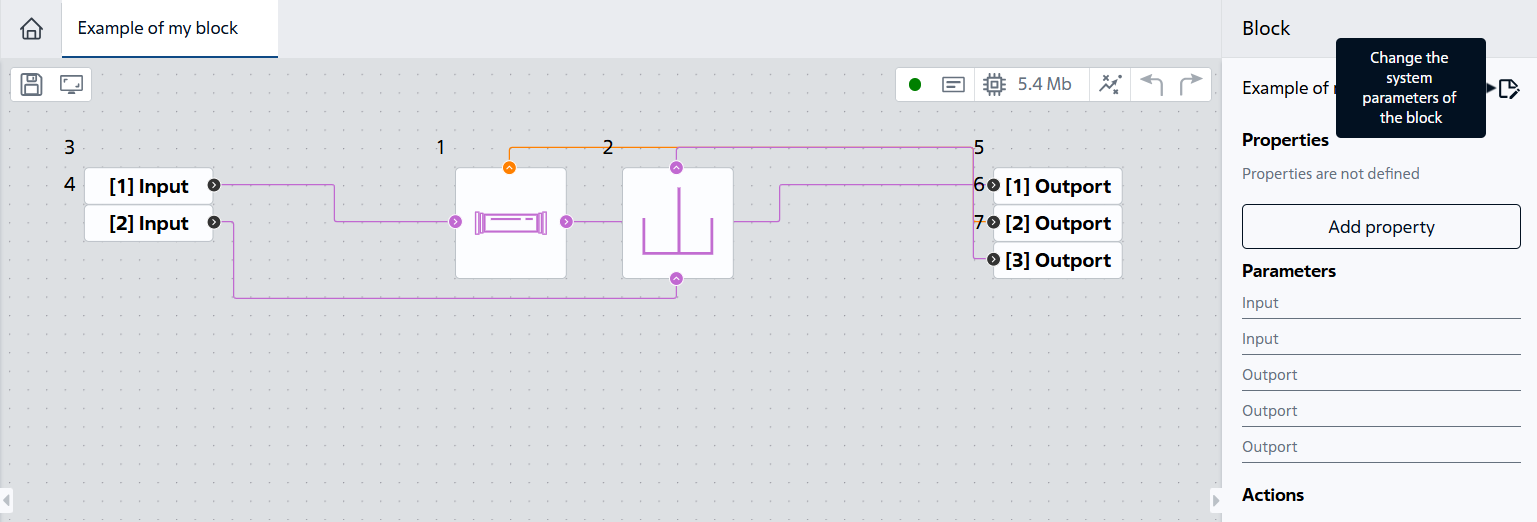
Fig. 12 Changing the system parameters of the block#

Fig. 13 Text editor#
When working with the block image, it is possible to use a small graphic editor, with which it is possible to:
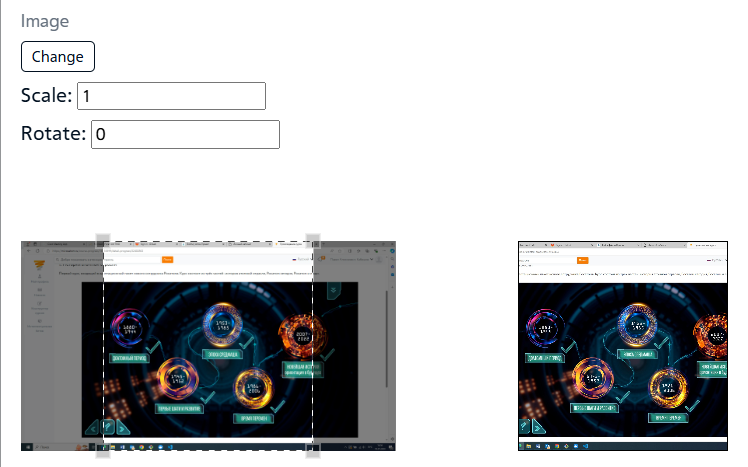
Fig. 14 Graphic editor#
Important
When a block’s schema is changed, a notification appears informing you that changes have been made. A notification also appears if a block has been deleted, Fig. 15:

Fig. 15 Notification#
6. Ungrouping a Block Group#
To ungroup a group of blocks, you need to:
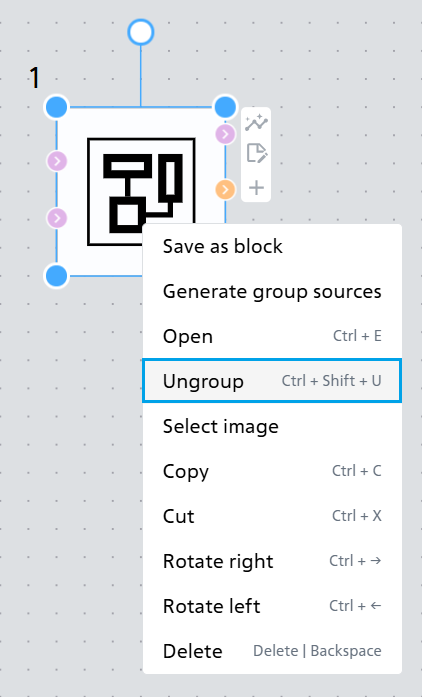
Fig. 16 Ungrouping#
7. Export block#
To export a “Custom Block”, you must:
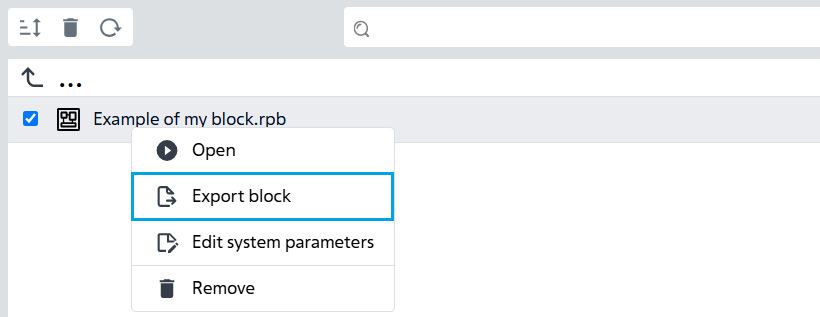
Fig. 17 Export Custom block#
Note
After clicking on the Export block button, the file will start downloading to the PC
8. Import block#
To import a “Custom block” you need to go to the “Projects” page and click the Import project / file button on the top panel, Fig. 18:

Fig. 18 Import button#
Then click on the Import button and select the file, which should have the extension .rpb, Fig. 19:
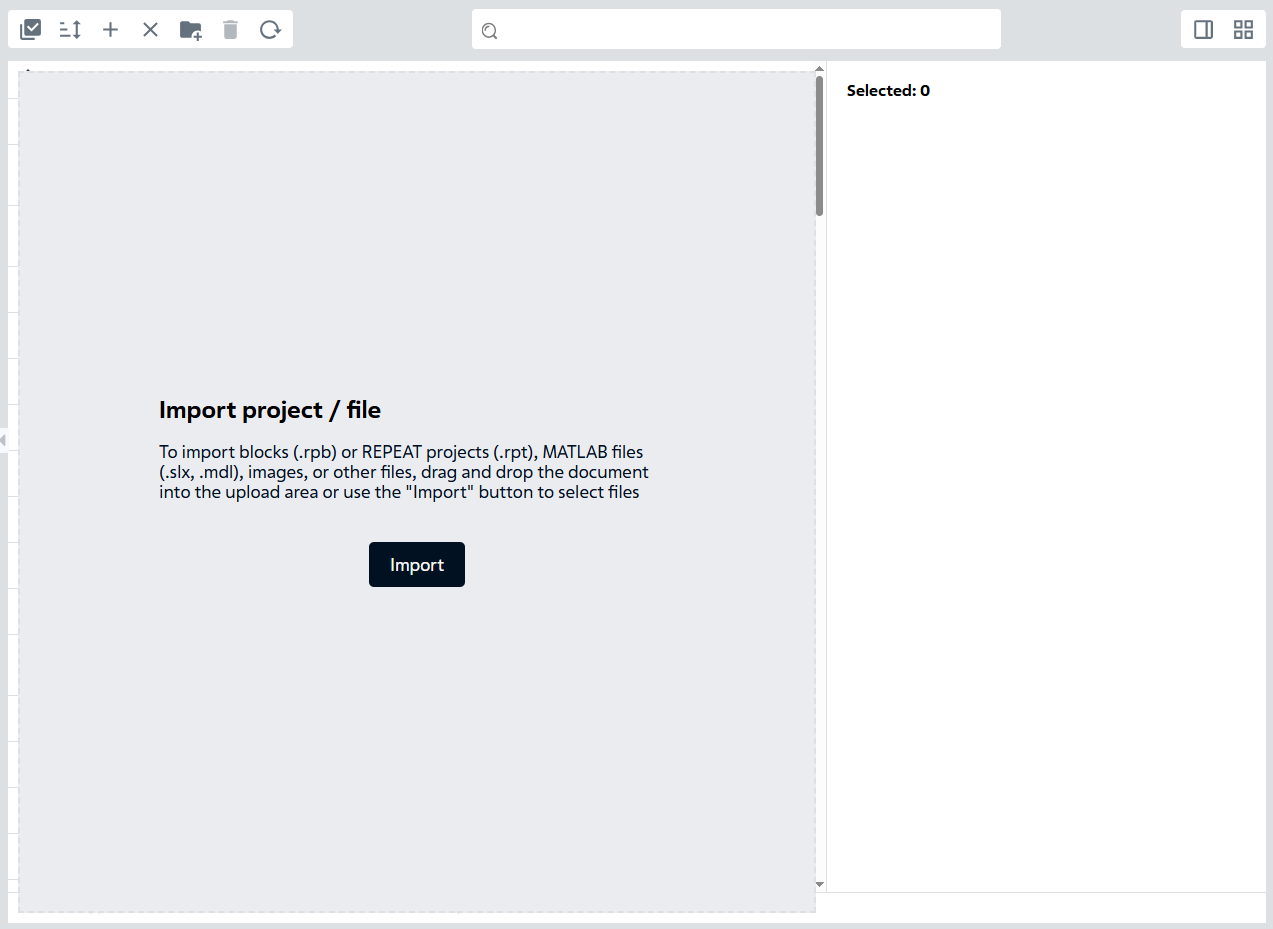
Fig. 19 Import block#

Fig. 20 Block successfully imported#
If the block import is not required, click Cancel
9. Replacing the standard icon for the “Group” or “Custom block”#
Blocks have the ability to replace the icon with a custom image. To do this, RMB on the block and select LMB Select image, Fig. 21:
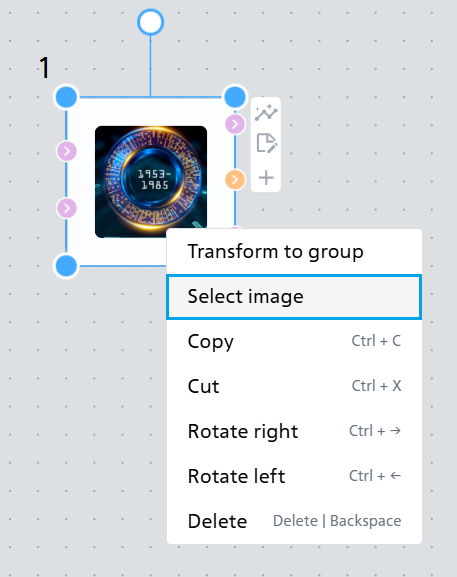
Fig. 21 Select image#
Then select the desired image on your PC.
Once an image is added, right-clicking on the RMB block will make two options available (see Fig. 22 below):
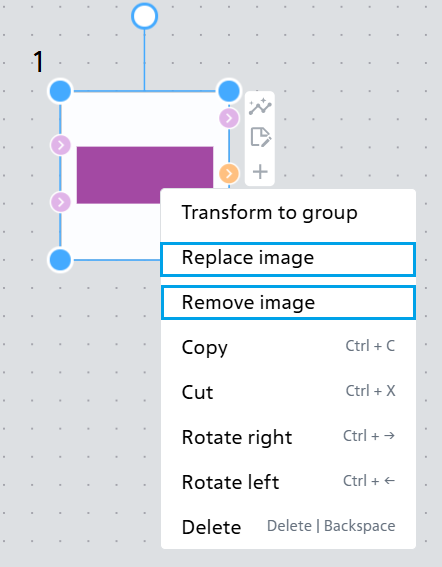
Fig. 22 Replacing/removing an image#
Hint
If you delete a custom block image, it will revert to the default block image